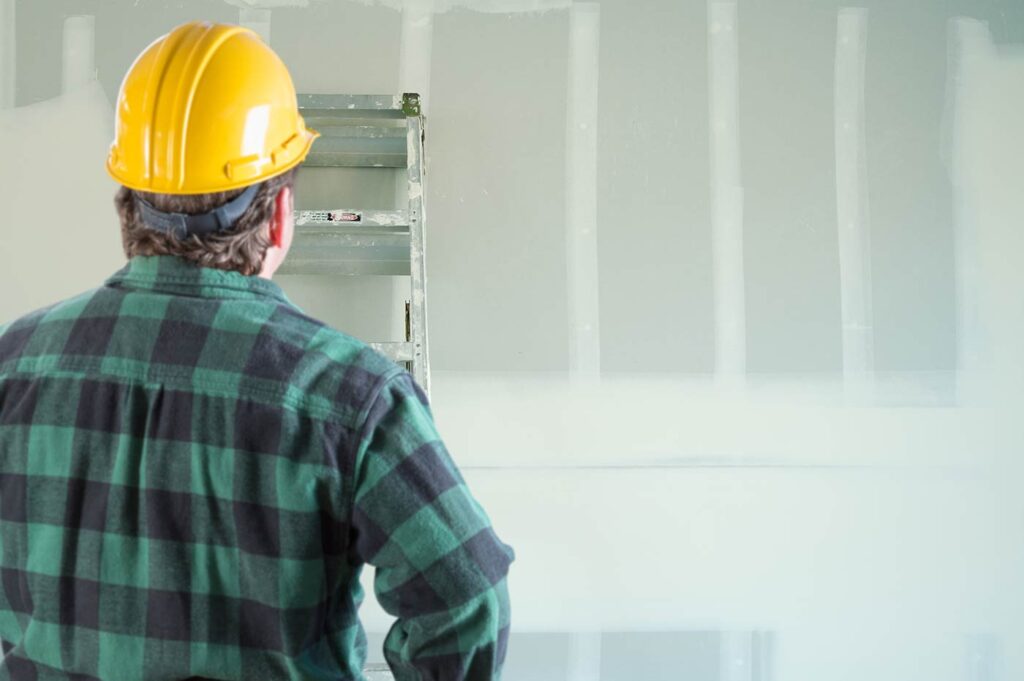
Drywall is known by many other names such as wallboard, gyp board, Sheetrock and plaster board. No matter what you call it, repairing it from time to time will be a necessity. It is a building material used in nearly all types of construction projects and come in large sized panels with gypsum core in between. The paper faces are typically made using recycled paper.
Listed below are some of the prevalent drywall problems and the effective ways to resolve those:
Drywall Paper is excessively sanded
Sometimes, the people setting up the drywall go overboard in their efforts to achieve smooth surface. The problem is when they go overboard in sanding the Drywall, the installation integrity is jeopardized. Sometimes, they end up sanding surface of adjacent drywalls. This requires them to redo the process.
The solution is checking the sanding work progress. This can be done by setting up a light to the wall at low angle. This will help in spotting any bump easily.
Drywall screws getting driven too far
Sometimes, the screws can get too deep and they break the wallboard’s surface paper. This is a big problem as the holding capacity of the screw is lost when the paper surface is breached.
The solution is driving screw heads to the paper cover surface with precision. You can give it only a half turn extra to ensure it gets pushed just below the surface. In fact, you can make use of specialized drill attachments to regulate screw depth. You may also use a screw gun as it has clutch for setting depth.
Misaligned Holes for the Electrical Boxes
It is not easy to cut a hole in drywall sheet and then expect that it will line up well with any electrical receptacle, already nailed in.
The first option to override this issue is applying lipstick of the electrical receptacle’s edge and then pressing the drywall sheet against it. This is however not a very good way to resolve the issue and you can try another method.
You can run the electrical cables and then twist the ends together without installing the receptacle itself. Then mark the receptacle location using square of painter’s tape. Now, you can set up the drywall. This will require using retrofit electrical boxes.
Drywall Joints prove to be Too Tight
This may not seem too grave but it is a problem nevertheless. If there are two adjoining drywall sheets fitting snugly side-by-side, the breakage can occur even when you least expect it. There should ebb space for expansion and contraction of wood framing as well.
This is hard to fix and you need to adopt a preventive approach beforehand, when setting up the drywall. There should be at least 1/8-inch space between the sheets when installation is done. Thin strips of wood are what you can use as spacing guides.
Failed Drywall Joints
When setting up drywall joints, effort is made to ensure the drywall panels fall over the framing members and both edges can be securely screwed down. This however does not happen at all times and the issue of hanging joints crops up.
You may think that this can be resolved by laying down tape and the mud it over. However, this is not a feasible or lasting solution. First of all, try to ensure the hanging joints can be evaded. Keep in mind that longer hanging joints can fail easily. For tall walls, using long panels set up horizontally makes sense.
Fixing the menace of dents in drywall
Dents are possibly the most widespread drywall problems. However, the good thing is they are easy to fix.
You have to use a blade taping knife and you may use the disposable plastic types too. This can be used to apply premixed drywall joint or spackle to the dented spots. Wait until it is dry and sand using sanding block and sand paper carefully. After the surface is dry, check the repair progress. A second application may be required sometimes. When it seems smooth, primer can be applied.
Fixing damp or moisture formation on drywall
In some situations, based on construction material used and climate, the drywall surface may become damp prone and wet to touch. This happens when adequate waterproofing is not done while setting up the walls or if there is any water leakage. Unless this is fixed, later the damp will affect the painted surface of the wall.
First, you have to detect the root of the damp affecting the drywall surface. It can be a leaking pipe or a leakage in roof. If necessary, you may have to cut out the damp parts and use waterproof materials to safeguard it from further damage. If the underlying framing has rotted, you will have to replace it using the right methods.

